伴随着Xcode11把Application Loader删除了。打包上架变得又慢又卡,那么有什么好的办法来实现一键打包并上架到App Store或者上传到第三方分发平台呢。
一、shell脚本打包 1、自动打包 首先需要两个文件,第一个是配置plist,第二个shell脚本。
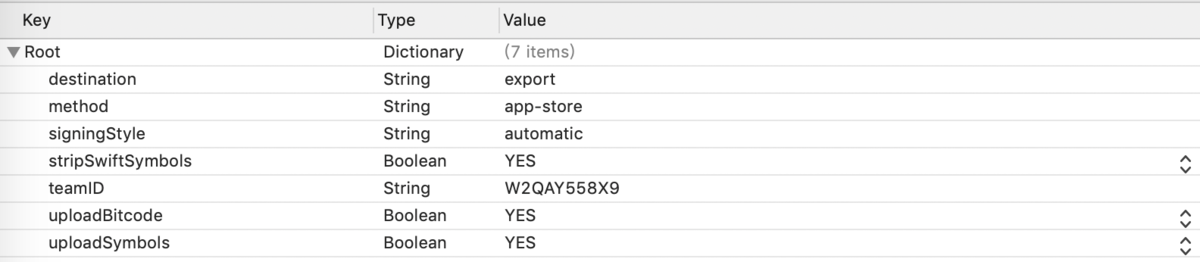
1.1 plist文件
注意
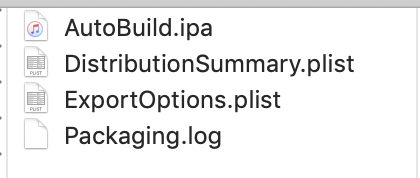
method是根据打包的方式不同而有所区别,ad-hoc或是app-storeplist文件呢,这里我们用Xcode去打包一次,得到如下文件。
文件夹中ExportOptions.plist就是我们想要的plist文件了,拷贝出来备用。
1.2 shell脚本 1 2 3 4 5 6 7 8 9 10 11 12 13 14 15 16 17 18 19 20 21 22 23 24 25 26 27 28 29 30 31 32 33 34 35 36 37 38 39 40 41 42 43 44 45 46 47 48 49 50 51 52 53 54 project_name=AutoBuild development_mode=Release scheme_name=AutoBuild exportOptionsPlistPath=./DevelopmentExportOptionsPlist.plist exportFilePath=~/Desktop/$project_name -ipa echo '*** 正在 清理工程 ***' xcodebuild \ clean -configuration ${development_mode} -quiet || exit echo '*** 清理完成 ***' echo '*** 正在 编译工程 For ' ${development_mode} xcodebuild \ archive -project ${project_name} .xcodeproj \ -scheme ${scheme_name} \ -configuration ${development_mode} \ -archivePath build/${project_name} .xcarchive -quiet || exit echo '*** 编译完成 ***' echo '*** 正在 打包 ***' xcodebuild -exportArchive -archivePath build/${project_name} .xcarchive \ -configuration ${development_mode} \ -exportPath ${exportFilePath} \ -exportOptionsPlist ${exportOptionsPlistPath} \ -quiet || exit if [[ -d build ]]; then rm -rf build -rfi if [ -e $exportFilePath /$scheme_name .ipa ]; then echo "*** .ipa文件已导出 ***" cd ${exportFilePath} echo "*** 开始上传.ipa文件 ***" echo "*** .ipa文件上传成功 ***" else echo "*** 创建.ipa文件失败 ***" fi echo '*** 打包完成 ***'
注意:
1.更换自己的工程名字、打包模式、scheme名、以及plist文件路径。cocoapods工程,这里的脚本会不一样。
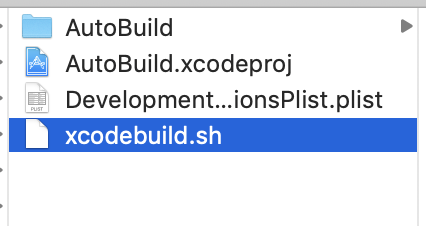
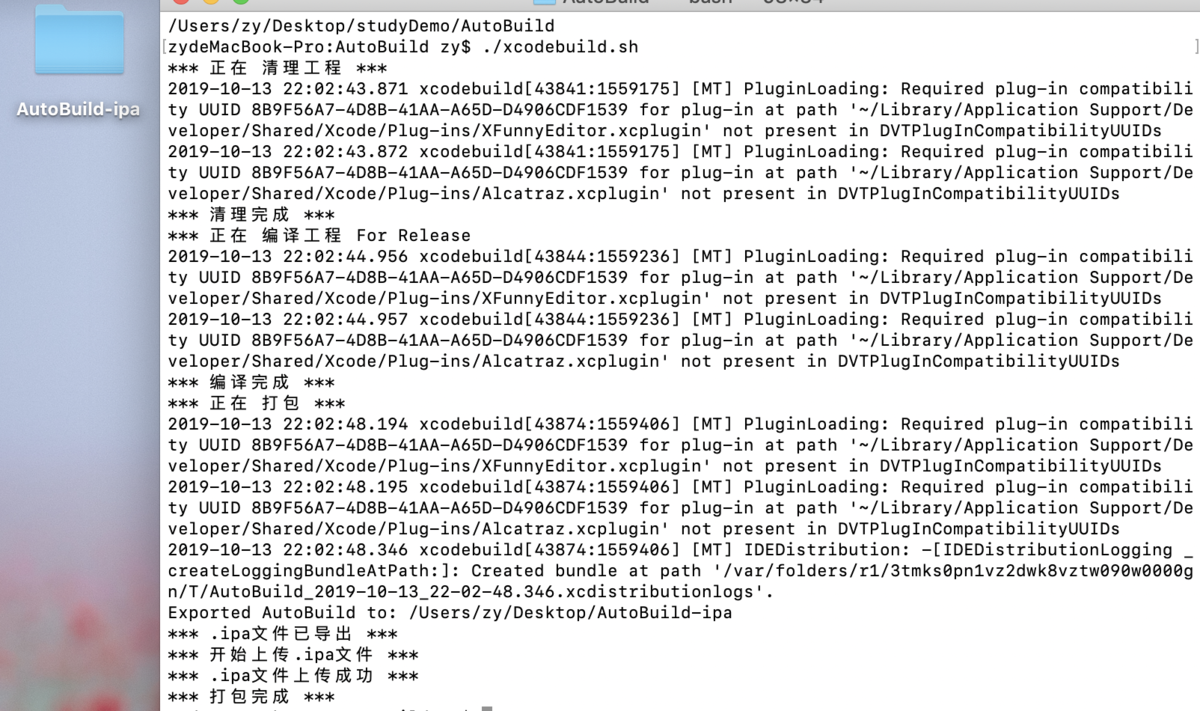
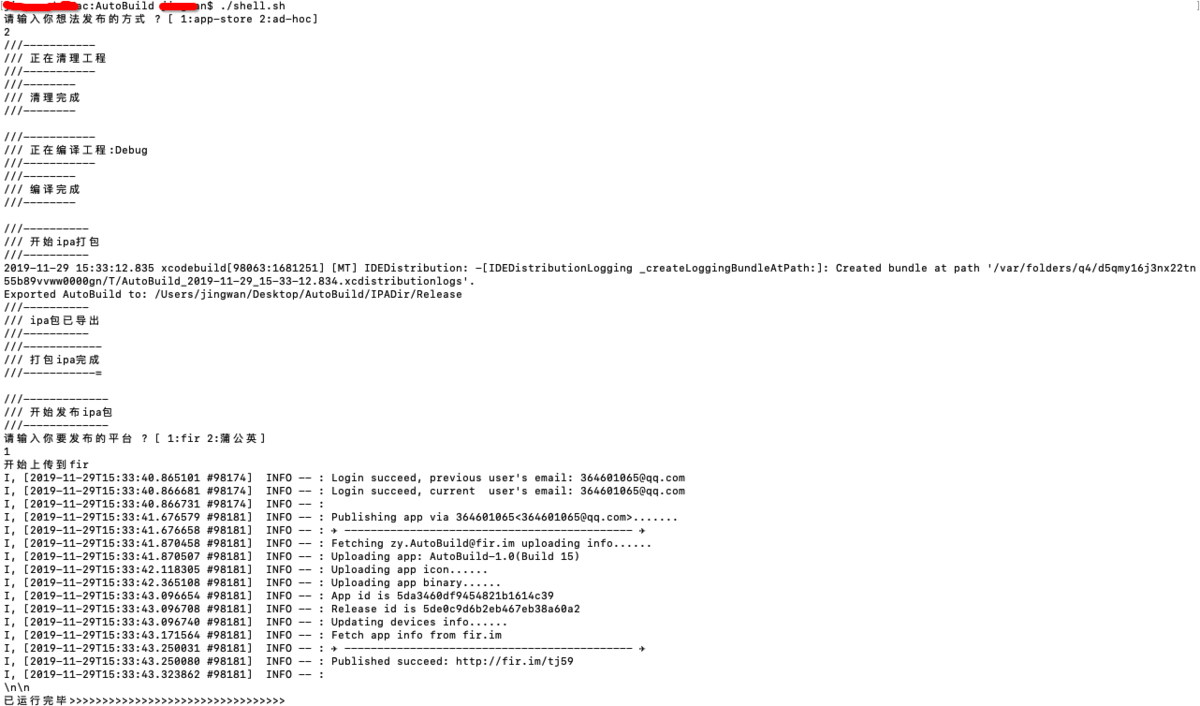
1.3 实战如下
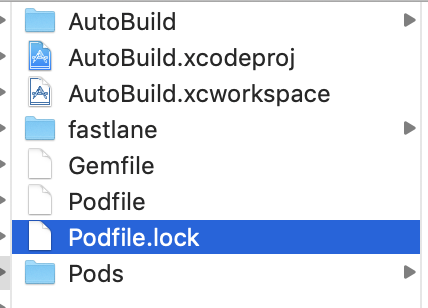
工程目录
1.4 总结 到此,我们就可以用终端一条命令实现打包,避免了繁琐的Xcode打包处理。
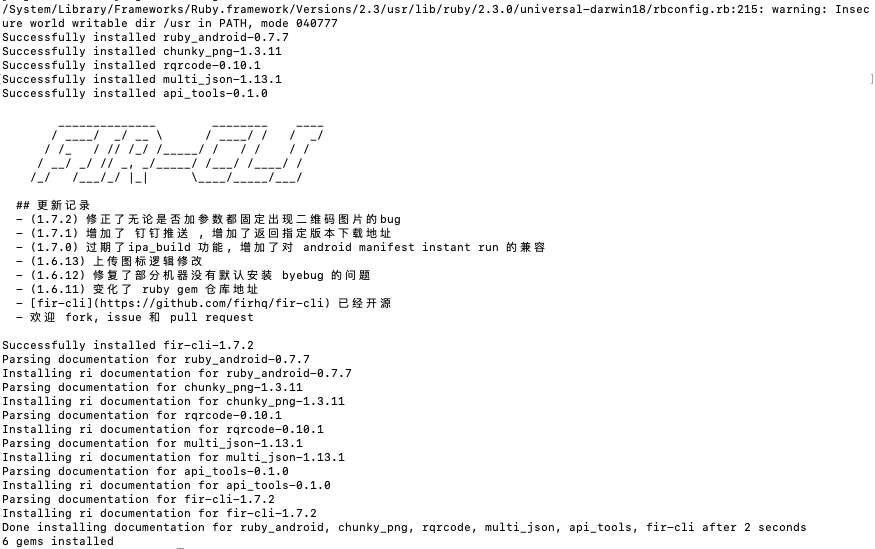
2、自动打包并上传到App Store、蒲公英、fir平台 2.1 注备阶段 安装fir-cli插件 文档
出现如下错误
1
2
ERROR: While executing gem ... (Gem ::FilePermissionError ) You don't have write permissions for the /Library/Ruby/Gems/2.3.0 directory.
使用如下命令
1 $ sudo gem install -n /usr/local/bin fir-cli
又出现如下错误
1
2
3
ERROR : Error installing fir-cli : The last version of rubyzip (>= 1.1 .6 ) to support your Ruby & RubyGems was 1.3 .0 . Try installing it with `gem install rubyzip -v 1.3.0` and then running the current command again rubyzip requires Ruby version >= 2.4 . The current ruby version is 2.3 .7 .456 .
根据上面的错误提示,让我们尝试使用gem install rubyzip -v 1.3.0 这条命令
1 $ gem install rubyzip -v 1.3 .0
错误如下
1
2
ERROR: While executing gem ... (Gem ::FilePermissionError ) You don't have write permissions for the /Library/Ruby/Gems/2.3.0 directory.
似曾相识,就是第一条的错误sudo
1 $ sudo gem install rubyzip -v 1.3 .0
出现如上界面,安装成功了 重大提醒 fir.im 更换域名后, 需要升级至 fir-cli >= 2.0.4 有部分用户反馈 2.0.2 无法直接使用 gem update fir-cli 升级到 2.0.4, 则可以尝试卸载后重新安装, 即 gem uninstall fir-cli 后 gem install fir-cli重大提醒 fir更新文档
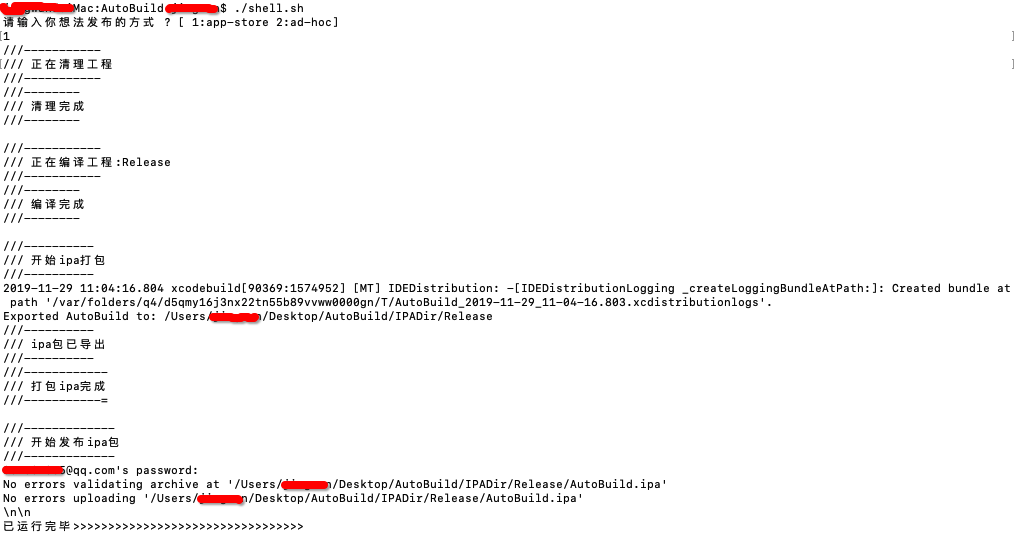
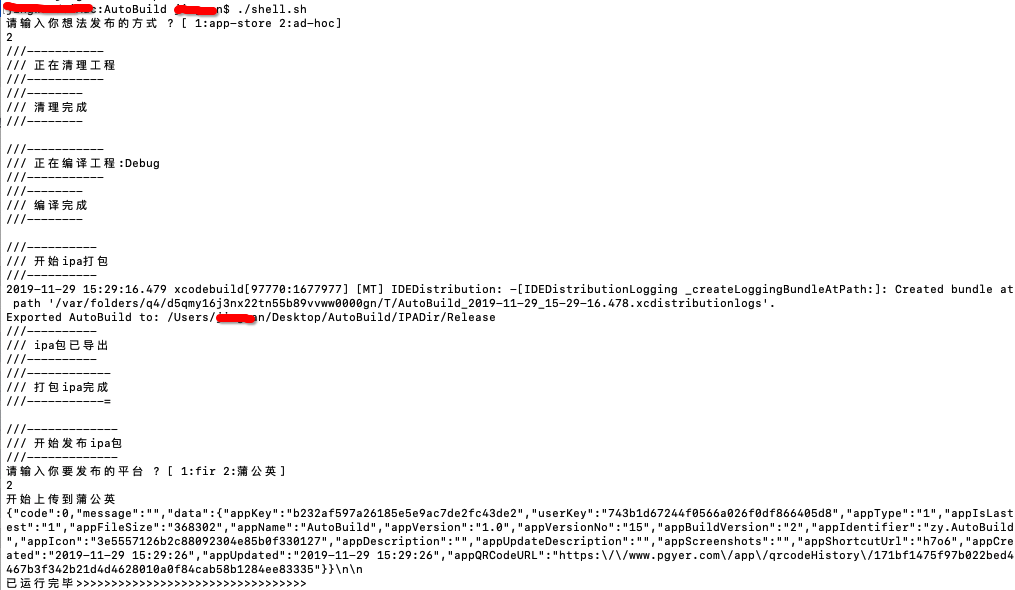
2.2 shell脚本配置 1 2 3 4 5 6 7 8 9 10 11 12 13 14 15 16 17 18 19 20 21 22 23 24 25 26 27 28 29 30 31 32 33 34 35 36 37 38 39 40 41 42 43 44 45 46 47 48 49 50 51 52 53 54 55 56 57 58 59 60 61 62 63 64 65 66 67 68 69 70 71 72 73 74 75 76 77 78 79 80 81 82 83 84 85 86 87 88 89 90 91 92 93 94 95 96 97 98 99 100 101 102 103 104 105 106 107 108 109 110 111 112 113 114 115 116 117 118 119 120 121 122 123 124 125 126 127 128 129 130 131 132 133 134 135 136 137 138 139 140 141 142 143 144 145 146 147 148 149 150 151 152 153 154 155 156 157 158 159 160 if [ ! -d ./IPADir ]; then mkdir -p IPADir; fi project_path=$(cd `dirname $0 `; pwd ) project_name=xxxx scheme_name=xxxx development_mode=Release build_path=${project_path} /build exportOptionsPlistPath=${project_path} /exportAppstore.plist exportIpaPath=${project_path} /IPADir/${development_mode} echo "请输入你想法发布的方式 ? [ 1:app-store 2:ad-hoc] " read number while ([[ $number != 1 ]] && [[ $number != 2 ]]) do echo "笨蛋,只能输入 1 or 2" echo "请输入你想法发布的方式 ? [ 1:app-store 2:ad-hoc] " read number done if [ $number == 1 ]; then development_mode=Release exportOptionsPlistPath=${project_path} /exportAppstore.plist else development_mode=Debug exportOptionsPlistPath=${project_path} /exportTest.plist fi echo '///-----------' echo '/// 正在清理工程' echo '///-----------' xcodebuild \ clean -configuration ${development_mode} \n -quiet || exit echo '///--------' echo '/// 清理完成' echo '///--------' echo '' echo '///-----------' echo '/// 正在编译工程:' ${development_mode} echo '///-----------' xcodebuild \ archive -workspace ${project_path} /${project_name} .xcworkspace \ -scheme ${scheme_name} \ -configuration ${development_mode} \ -archivePath ${build_path} /${project_name} .xcarchive \ -quiet || exit echo '///--------' echo '/// 编译完成' echo '///--------' echo '' echo '///----------' echo '/// 开始ipa打包' echo '///----------' xcodebuild -exportArchive -archivePath ${build_path} /${project_name} .xcarchive \ -configuration ${development_mode} \ -exportPath ${exportIpaPath} \ -exportOptionsPlist ${exportOptionsPlistPath} \ -quiet || exit if [[ -d build ]]; then rm -rf build -rfi if [ -e $exportIpaPath /$scheme_name .ipa ]; then echo '///----------' echo '/// ipa包已导出' echo '///----------' open $exportIpaPath else echo '///-------------' echo '/// ipa包导出失败 ' echo '///-------------' fi echo '///------------' echo '/// 打包ipa完成 ' echo '///-----------=' echo '' echo '///-------------' echo '/// 开始发布ipa包 ' echo '///-------------' if [ $number == 1 ]; then xcrun altool --validate-app -f ${exportIpaPath} /${scheme_name} .ipa -u xxxx [-p xxx] xcrun altool --upload-app -f ${exportIpaPath} /${scheme_name} .ipa -u xxx -p xxx else echo "请输入你要发布的平台 ? [ 1:fir 2:蒲公英] " read platform while ([[ $platform != 1 ]] && [[ $platform != 2 ]]) do echo "笨蛋,只能输入 1 or 2" echo "请输入你要发布的平台 ? [ 1:fir 2:蒲公英] " read platform done if [ $platform == 1 ]; then echo "开始上传到fir" fir login -T xxxx fir publish $exportIpaPath /$scheme_name .ipa else echo "开始上传到蒲公英" MY_PGY_API_K=xxx MY_PGY_UK=xxxx curl -F "file=@${exportIpaPath} /${scheme_name} .ipa" -F "uKey=${MY_PGY_UK} " -F "_api_key=${MY_PGY_API_K} " https://qiniu-storage.pgyer.com/apiv1/app/upload fi fi echo "\n\n" echo "已运行完毕>>>>>>>>>>>>>>>>>>>>>>>>>>>>>>>>>" exit 0
2.3 上传到App Store
上传App Store
构建版本
注意:
如果你报如下错误,不难看出,是因为我们开启了双重认证,需要app-specific password。
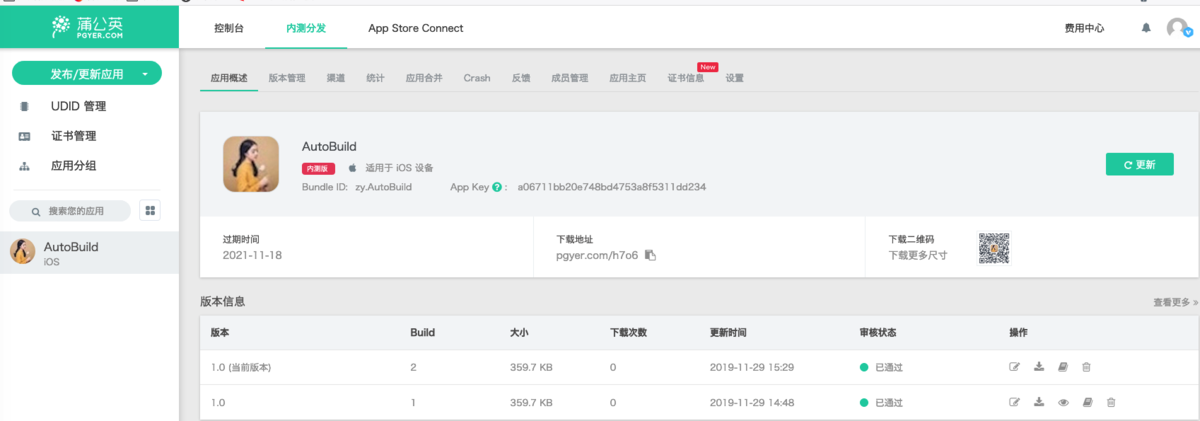
2.4 上传蒲公英
2.5 上传fir
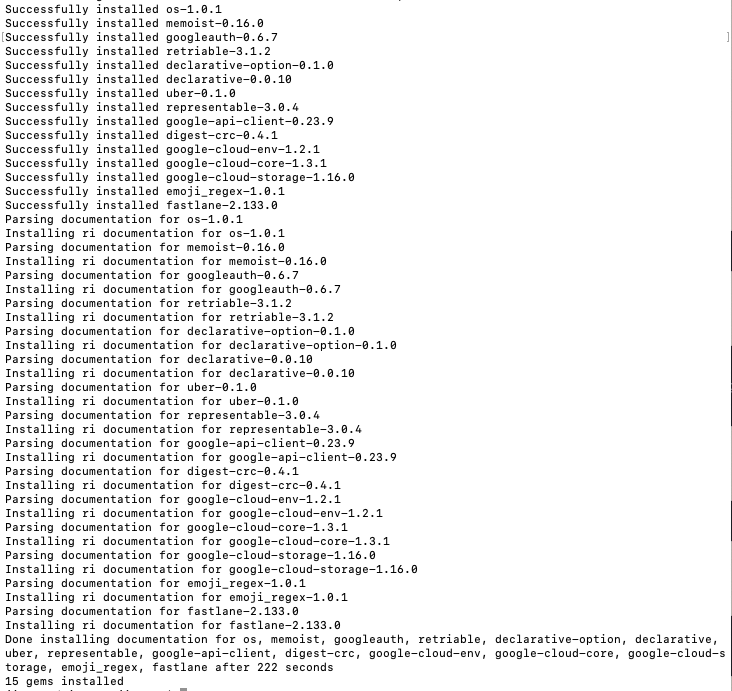
二、fastlane打包 2.1 注备阶段 安装fastlane
1 $ sudo gem install fastlane
错误如下
1
2
3
ERROR : Error installing fastlane : The last version of signet (~> 0.9 ) to support your Ruby & RubyGems was 0.11 .0 . Try installing it with `gem install signet -v 0.11.0` and then running the current command again signet requires Ruby version >= 2.4 .0 . The current ruby version is 2.3 .7 .456 .
根据上面的错误提示,让我们尝试使用gem install signet -v 0.11.0 这条命令
1 gem install signet -v 0.11 .0
错误如下
1
2
ERROR: While executing gem ... (Gem ::FilePermissionError ) You don't have write permissions for the /Library/Ruby/Gems/2.3.0 directory.
还是老问题,没有权限,使用sudo
1 $ sudo gem install signet -v 0.11 .0
成功之后在执行
1 $ sudo gem install fastlane
出现如上界面,安装成功了! 拓展
第一点 Podfile.lock的作用CocoaPods版本不一致
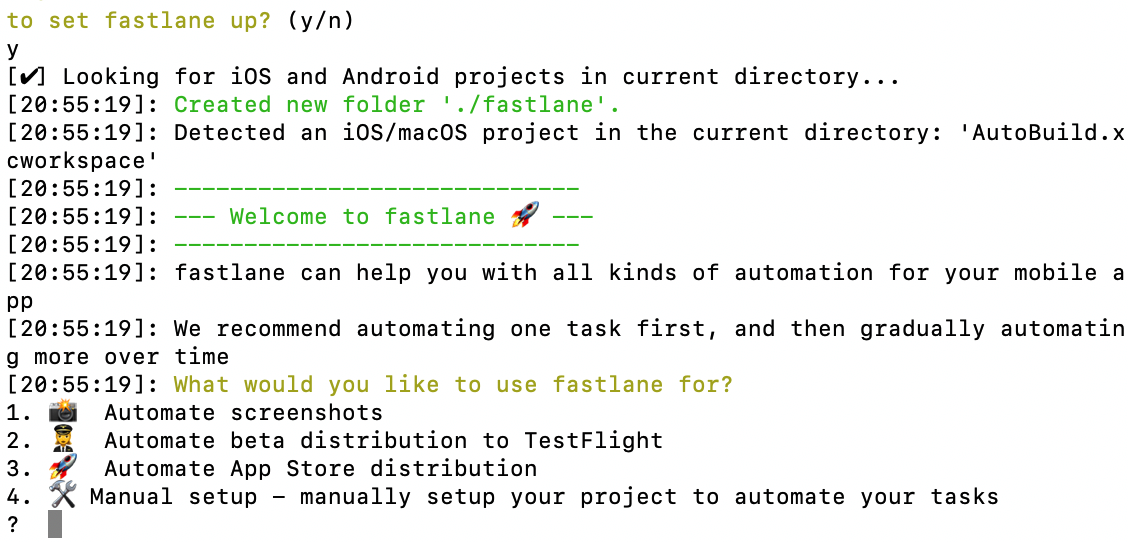
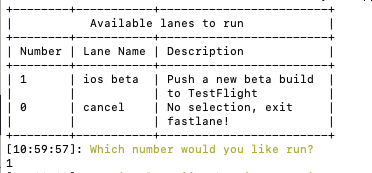
2.2 接下来我们正式使用fastlane
这里让我们选择打包到App Store和TestFlight。这里我们选择2。
使用如下命令。
我们来看下fastlane文件夹中的Fastfile
1 2 3 4 5 6 7 8 9 10 default_platform(:ios ) platform :ios do desc "Push a new release build to the testflight" lane :testflight do increment_build_number(xcodeproj: "AutoBuild.xcodeproj" ) build_app(workspace: "AutoBuild.xcworkspace" , scheme: "AutoBuild" ) upload_to_testflight end end
可以看出打包模式只有testflight,之后我们会满满丰满这里面的内容,且往下看。
继续使用如下命令
选择打包方式
注意
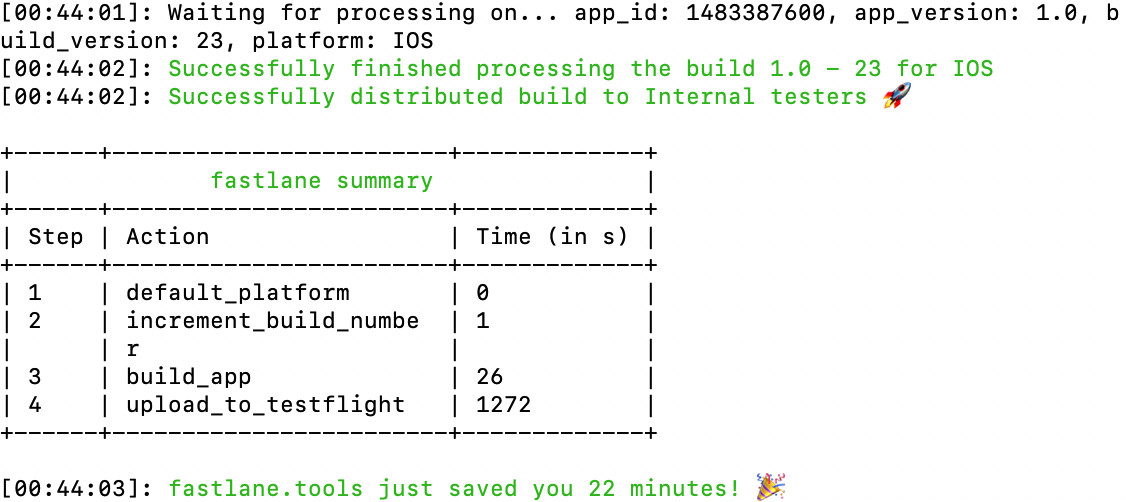
1是打包到TestFlight,与Fastfile文件中的平台对应
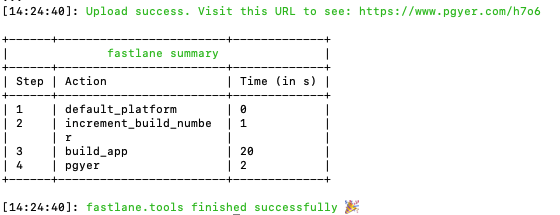
打包成功,这里可以看到很多信息,比如版本,build号以及打包所用的时间。
2.3 把ipa上传到第三方平台 首先我们需要安装插件,首先看看如下几个命令。
安装蒲公英插件
1 fastlane add_plugin pgyer
安装fir插件
1 fastlane add_plugin firim
安装成功后,可以在当前目录的fastlane下生成一个Pluginfile文件,文件内容如下
1
2
3
4
5
6
# Autogenerated by fastlane # # Ensure this file is checked in to source control! gem 'fastlane-plugin-pgyer' gem 'fastlane-plugin-firim'
现在我们开始丰满一下我们的Fastfile的platform信息
1 2 3 4 5 6 7 8 9 10 11 12 13 14 15 16 17 18 19 20 21 22 23 24 25 26 27 28 29 30 31 32 33 34 default_platform(:ios ) platform :ios do desc "Push a new release build to the testflight" lane :testflight do increment_build_number(xcodeproj: "AutoBuild.xcodeproj" ) build_app(workspace: "AutoBuild.xcworkspace" , scheme: "AutoBuild" ) upload_to_testflight end desc "Push a new release build to the App Store" lane :release do increment_build_number(xcodeproj: "AutoBuild.xcodeproj" ) build_app(workspace: "AutoBuild.xcworkspace" , scheme: "AutoBuild" ) upload_to_app_store end desc "Push a new release build to the 蒲公英" lane :pgyAction do increment_build_number(xcodeproj: "AutoBuild.xcodeproj" ) build_app(workspace: "AutoBuild.xcworkspace" , scheme: "AutoBuild" ) pgyer(api_key: "你的api_key" , user_key: "你的user_key" ) end desc "Push a new release build to the firim" lane :firimAction do increment_build_number(xcodeproj: "AutoBuild.xcodeproj" ) build_app(workspace: "AutoBuild.xcworkspace" , scheme: "AutoBuild" ) firim(firim_api_token: "你的firim_api_token" ) end end
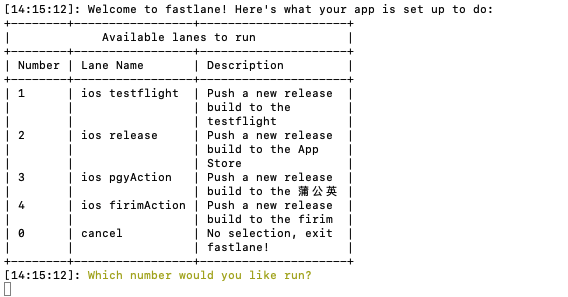
重新输入
可以看出来,目前有四种方式选择,分别对应我们的TestFlight、线上release、蒲公英以及fir。
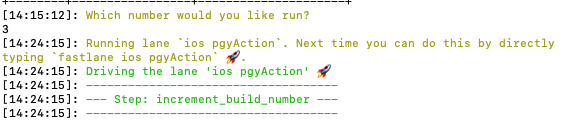
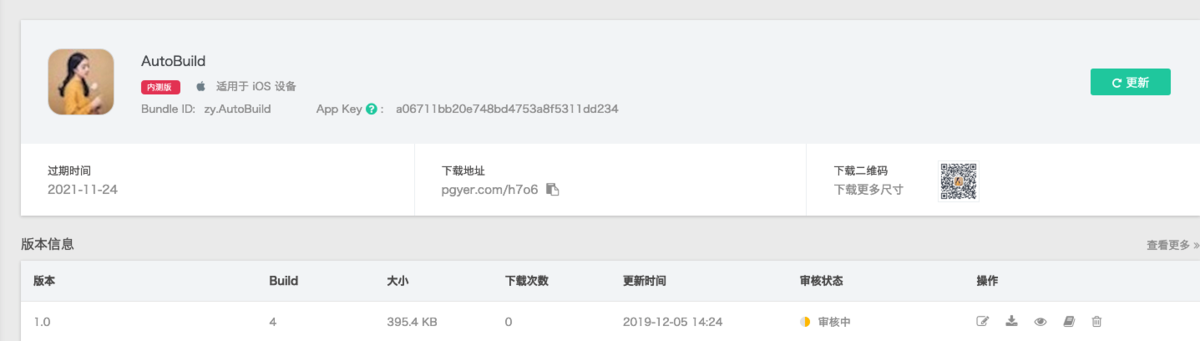
接下来我们以蒲公英为例(其他平台方式都一致):
可以看到上传成功
fastlane成功!
注意
1 [!] Could not find action, lane or variable 'pgyer' . Check out the documentation for more details: https:
可能是你安装pgyer插件的时候,不是在项目下安装的,这个插件必须在项目下面安装。
到此,我们的fastlane就已经实现了自动化打包。